
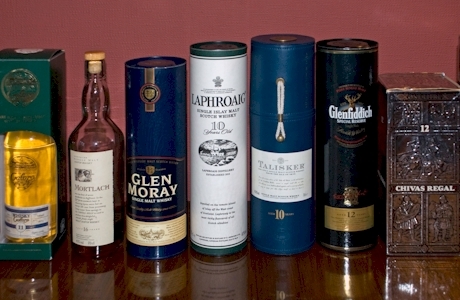
WHISKEY TASTING
By Steve Kirwan
Like wine tasting, sampling is a great way to learn about the varied styles and expressions of whiskeys. Understanding their differences and learning to identify component whiskeys enhance appreciation of the art and science of distilling. Whiskey tasting is more demanding than wine tasting: the alcohol content is higher, the aromas and flavors are more intense and varied, and until you become more familiar with the terms, it can be more challenging to express your findings. However, there is good news! Whiskey tasting is FUN! Enjoy as you learn, and in short order, you’ll be able to identify and describe the attributes of the whiskeys you like best!
WHISKEY TASTING COMPONENTS
As with all tasting, the process involves sight, smell, and taste (and to a lesser degree, touch) to identify the components that make the whiskey.
- Appearance
Whiskeys vary in color from pale gold to deep brown. Although sometimes due to added caramel coloring (not a flavoring), it’s often a result of cask aging. As the wood tannins and ex-fill residuals leech into the whiskey over time, the whiskey can darken. - Nose
Whiskey tasting is primarily the job of the nose, our most sensitive organ. Our noses are capable of identifying 32 primary smells, but our tongues only differentiate four primary tastes. - Palate
Besides identifying the four primary tastes (sweet, sour, salty, bitter), our tongue also uses tactile (touch) sensing to detect “mouthfeel,” a term used to qualify the sense of texture, fullness, and “oiliness,” and to feel “heat” or alcohol intensity. Take extra care when tasting higher-ABV whiskeys, most commonly those bottled at cask strength. High alcohol content can damage your taste buds and throat! - Finish
The overall flavor of whiskey is a combined perception of the nose, tongue, and throat. The aromatic nuances carried by the volatile esters combine with the primary tastes and mouthfeel to create our concept of flavor. The term “finish” to describe how long the sensations last after swallowing (or, God forbid, spitting). A longer finish is preferred, and usually a sign of higher quality.
THE TASTING PROCESS
- PLANNING:
If you plan on tasting more than just a few, spit instead of swallowing. After more than three or four, your ability to identify nuances will diminish. You can also space the tastes by 20 or 30 minutes. Otherwise, enjoy your sampling- I certainly do! - STEP 1:
Pour about 1 1/2 oz. into a whiskey nosing glass or large brandy snifter. These glasses are ideal because they trap and hold the esters. Avoid using shot glasses (or other straight-sided glass) as they don’t allow the esters to concentrate, making critical tasting difficult. - STEP 2:
Swirl the whiskey vigorously in the glass to release the esters. Align your nose roughly in the center of the opening. Slowly inhale and note the aromas. - DECISION POINT:
If you are tasting high-ABV whiskeys, be extremely careful. Depending on your sensitivity, you may want to skip Step 3 and go directly to Step 4. - STEP 3:
Take a small sip of the whiskey, holding it on your tongue. Try to identify any sensations. Then, swish it around in your mouth, inhaling slowly through pursed lips to carry the esters back into your mouth and into your nose, then swallow. Again, note the aromas, flavors, and sensations you experience. - STEP 4:
Add about a teaspoon of room-temperature distilled (unflavored/mineral-free) drinking water, and repeat steps 2 and 3. - STEP 5: Make copious notes. It’s easy to forget the nuances over time!